Got Paracord…Got Molle Pack?
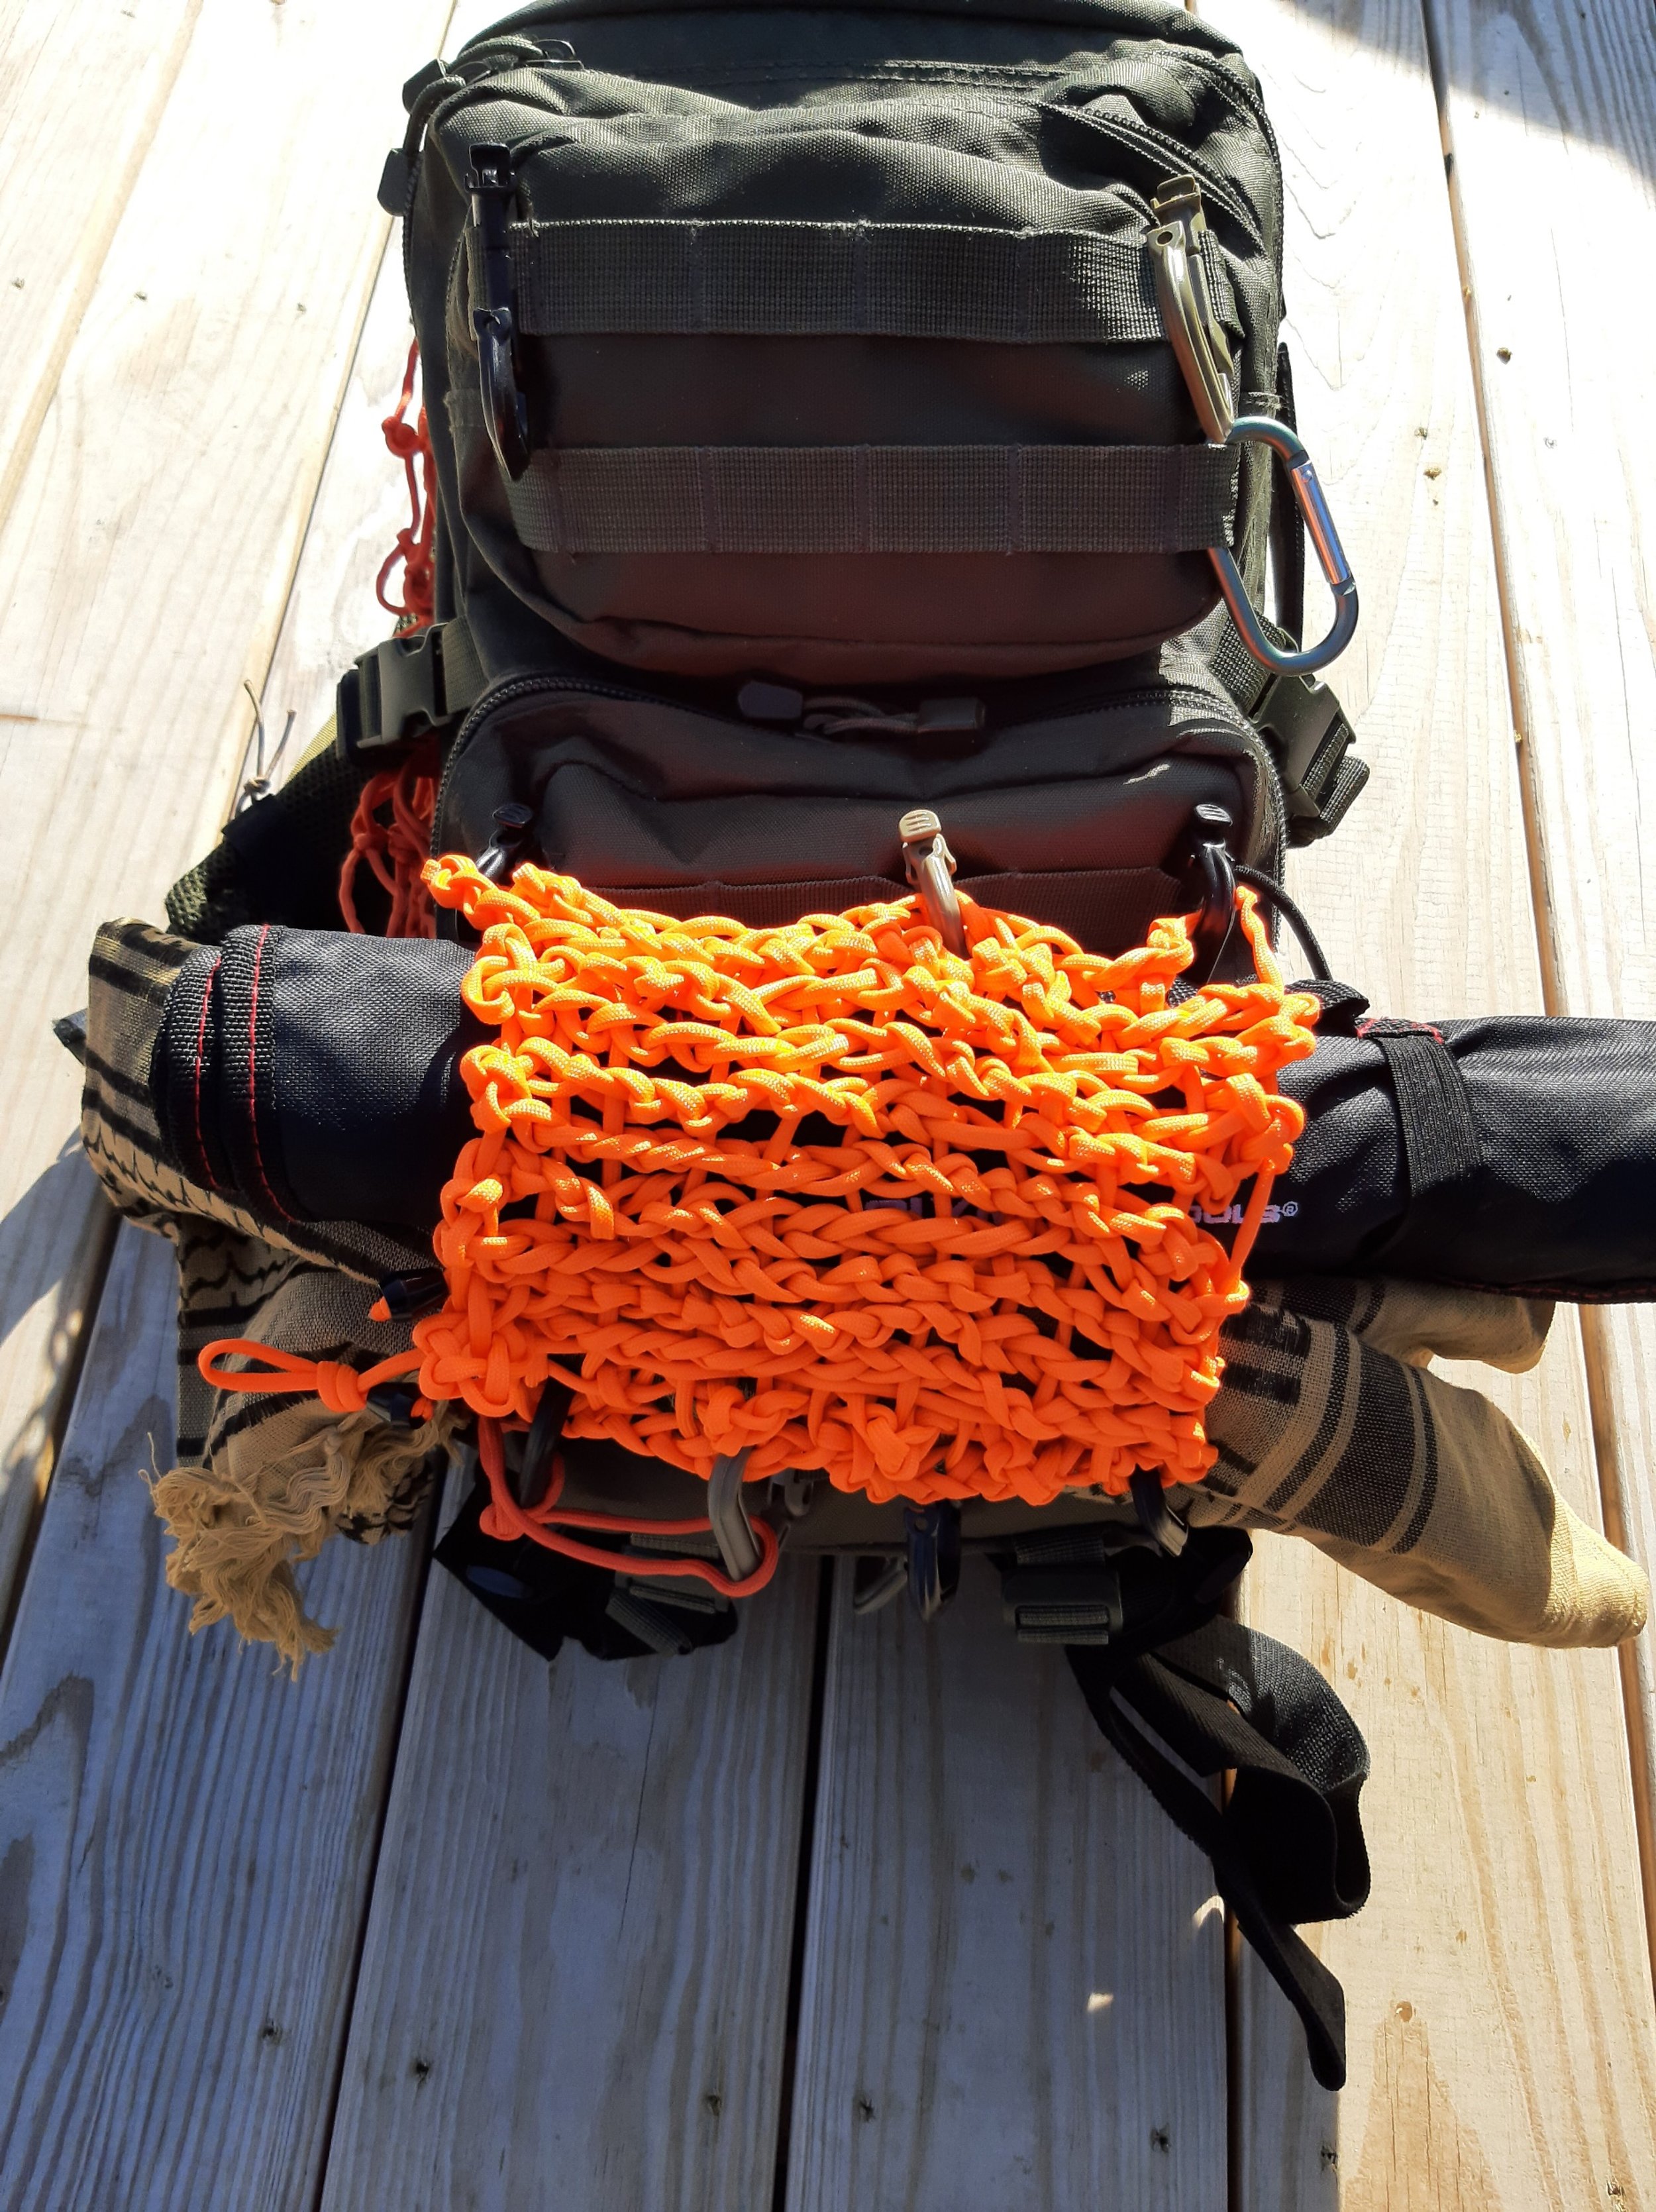
Want to save space inside your molle pack, want to learn another carrying option for the outside of your molle pack? I’ll show you how I made this paracord panel that clips to your carabiners and makes a small paracord flap/ pocket to hold certain things.
Want to save space inside your molle pack, want to learn another carrying option for the outside of your molle pack? I’ll show you how I made this paracord panel that clips to your carabiners and makes a small paracord flap/ pocket to hold certain things you may want to carry for your journeys, adventures, and commute.
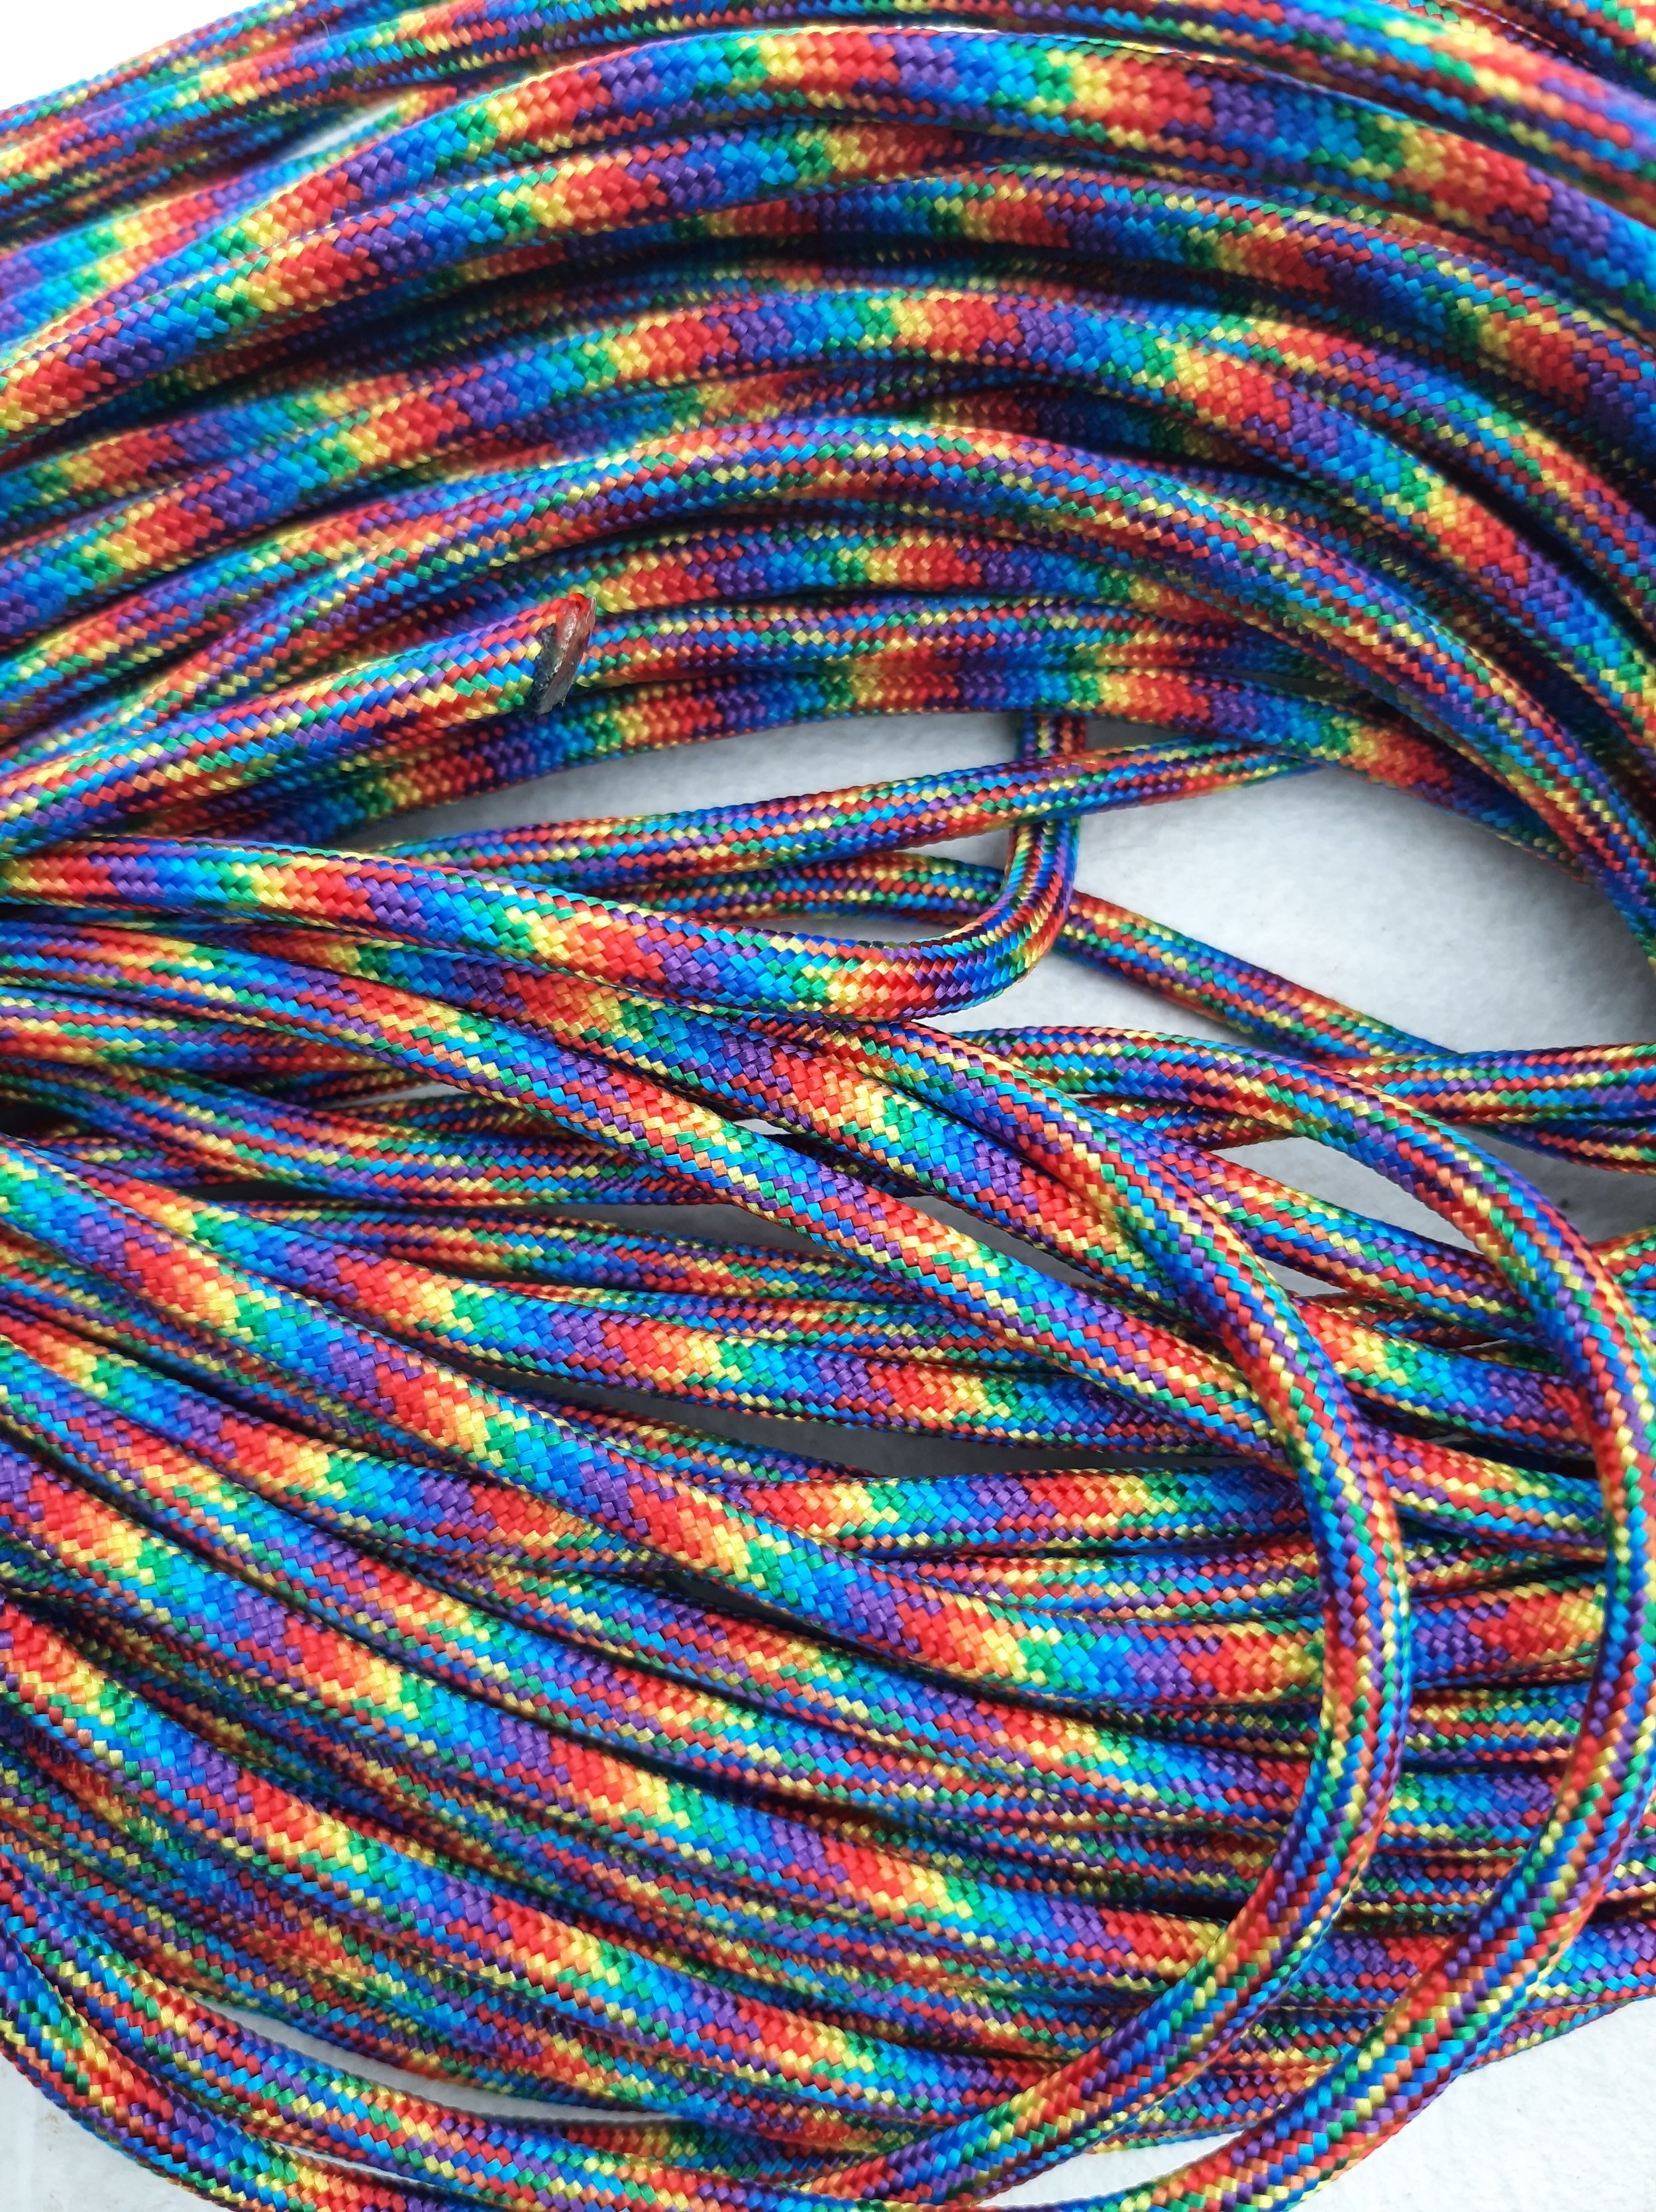
Let’s begin, It doesn’t take long. I used 50 ft of paracord for this panel, you can use any color of course. I made a daisy chain out of almost the whole length, it took less than 10 minutes and the more footage on the paracord the bigger the panel. I added a cord end and a loop to the one end, leaving the final working end bare because it’s much easier to weave the remaining cord that is not cinched up from the daisy chain into the little loops and in and out thru the small meshes for the weave.
When you’re finished with the daisy chain make bends up and down to create a square or rectangle and just flatten it out to see the whole shape to weave the working end of the cord thru the chain itself. This will connect your panel together.
Just keep going back and forth from one end back to the other end of the panel, It will take shape.
When all connected I weave the extra working end of the cord in the other direction to keep the panel from stretching out too much, even though that can be useful and maybe a good thing. You can also cinch up the remaining cord, start another daisy chain, and weave it out of the way. There is no right or wrong way, you just want to create the panel and make sure it is intact.
The next key factor is the molle backpack or more so the PALS webbing for the anchor points. I hope you found value in this tutorial, it all starts with paracord and the imagination. Have fun with it and don’t overthink it. I hope it also adds convenience to your carrying options, as always stay safe and adventurous wherever the day takes you!
Molle Backpack Hacks
I like hacks, they’re convenient as well as genius.
I like hacks, they’re convenient as well as a genius, in all they can make life easier. My hack for my molle/PALS webbing backpack is a bungee cord run thru the webbing to create straps to carry jackets, blankets to tool rolls, and such.
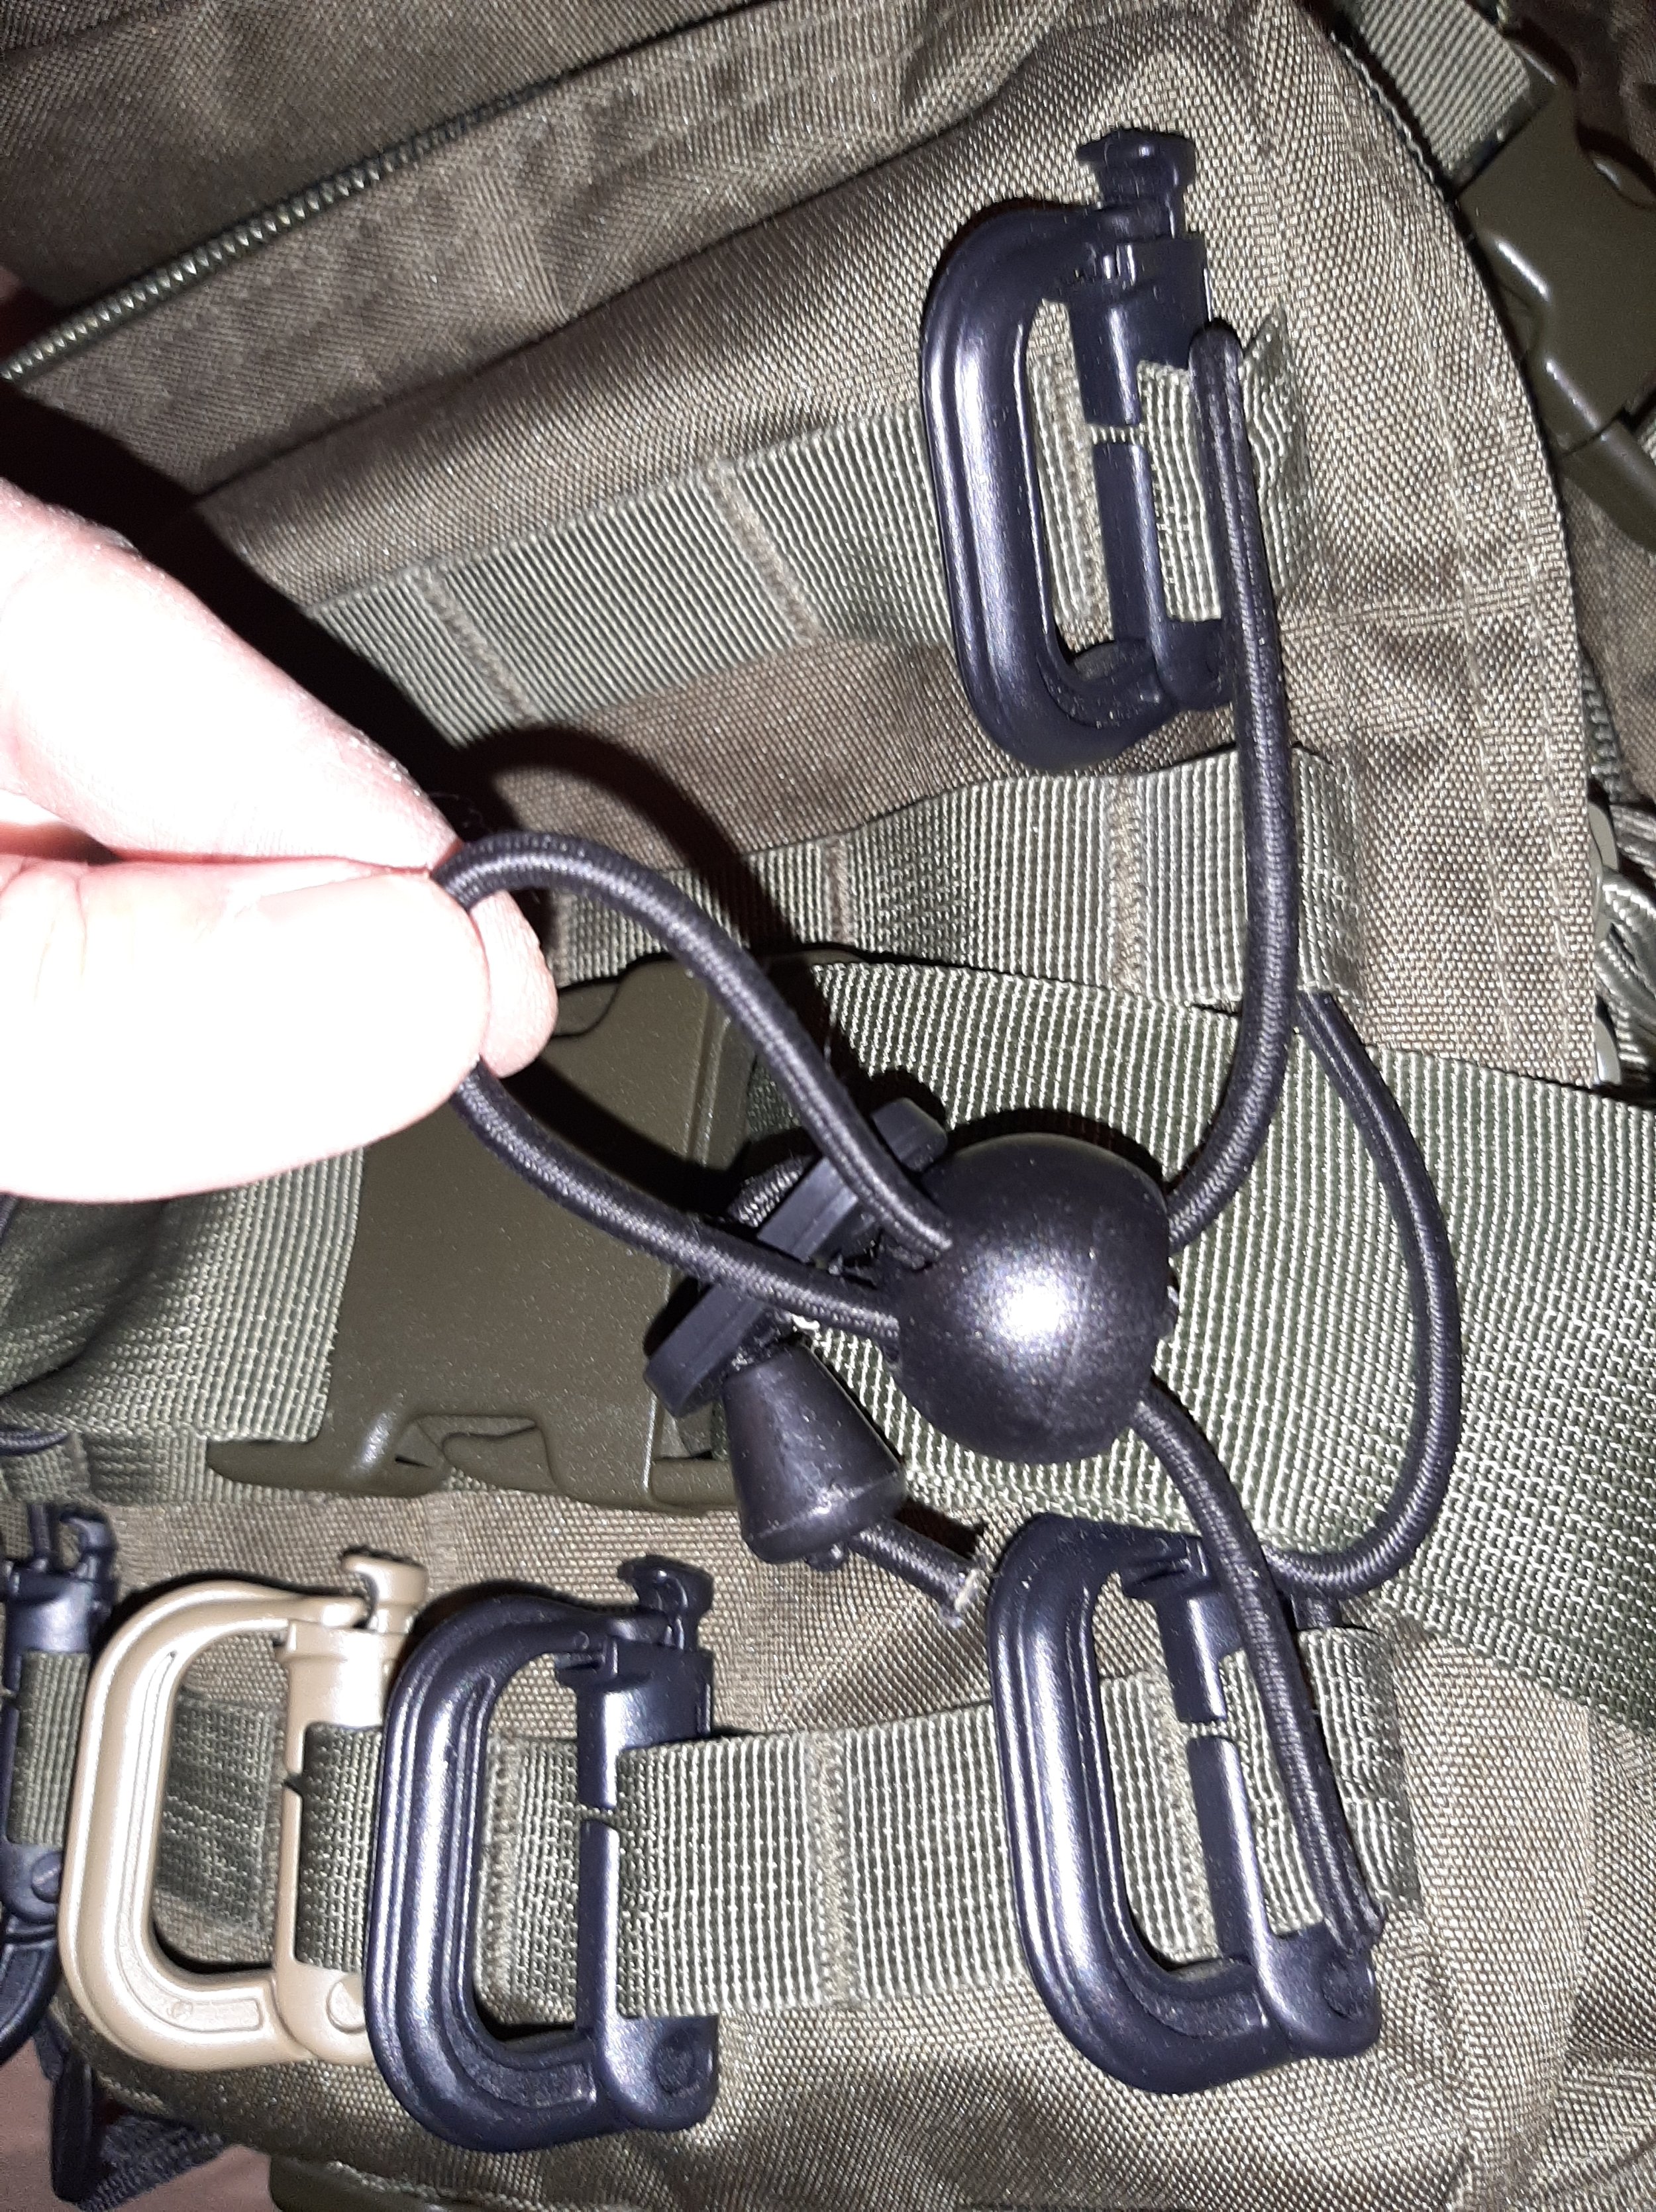
this pic is the front of the pack’s bottom pouch. The 2-way bungee cord contraption from the store, two-hole slider/stopper, and a cord end found on old jackets.
So let’s start with the bungee cord, it’s one of those that adjust from different sides, it creates loops from both sides and you can tighten it from different angles. How it works is it crosses over in the plastic housing and feeds thru and out the holes and for the life of me I can’t remember what it’s called and I’m sorry for that but they’re very common in the box stores and hardware stores. So moving on, let’s HACK on…
that big greenish plastic clip is the hip belt that I bring front and pass thru one bungee loop and clip it as it rides shotgun in the front.
I added a two-hole slider/stopper and a cord end from old jackets laying around, the 2 hole slider/stopper grips the bungee cord to keep it tight and creates another loop within itself if you want to add a carabiner and such.
So I start by taking the bungee cord apart (just untie the knots) and pull the cord from its housing entirely. Then feed the bungee cord thru the webbing of the pack and feed the bungee cord back into the housing, then feed your slider/stopper and I added the cord end for a more streamlined look.
I share the space in the webbing with my “Grimlock Carabiners” when feeding the bungee cord thru and you will notice in between the webbing I pull my hip belt thru and clip it out of the way and the bungee holds it in place and it’s not swaying by my side.
walla! one side is done! do the other side the same way
need to tighten, pull then slide the slider/stopper to hold it in place.
and it holds!
Real quick and really convenient, I hope you enjoyed it and hope it helps out, I rather carry it on my pack that in my hands.
Need more room for your molle pack? Need to PACK HOLD CARRY just a little bit more… meet the Mini OPSnet, not so MINI.


